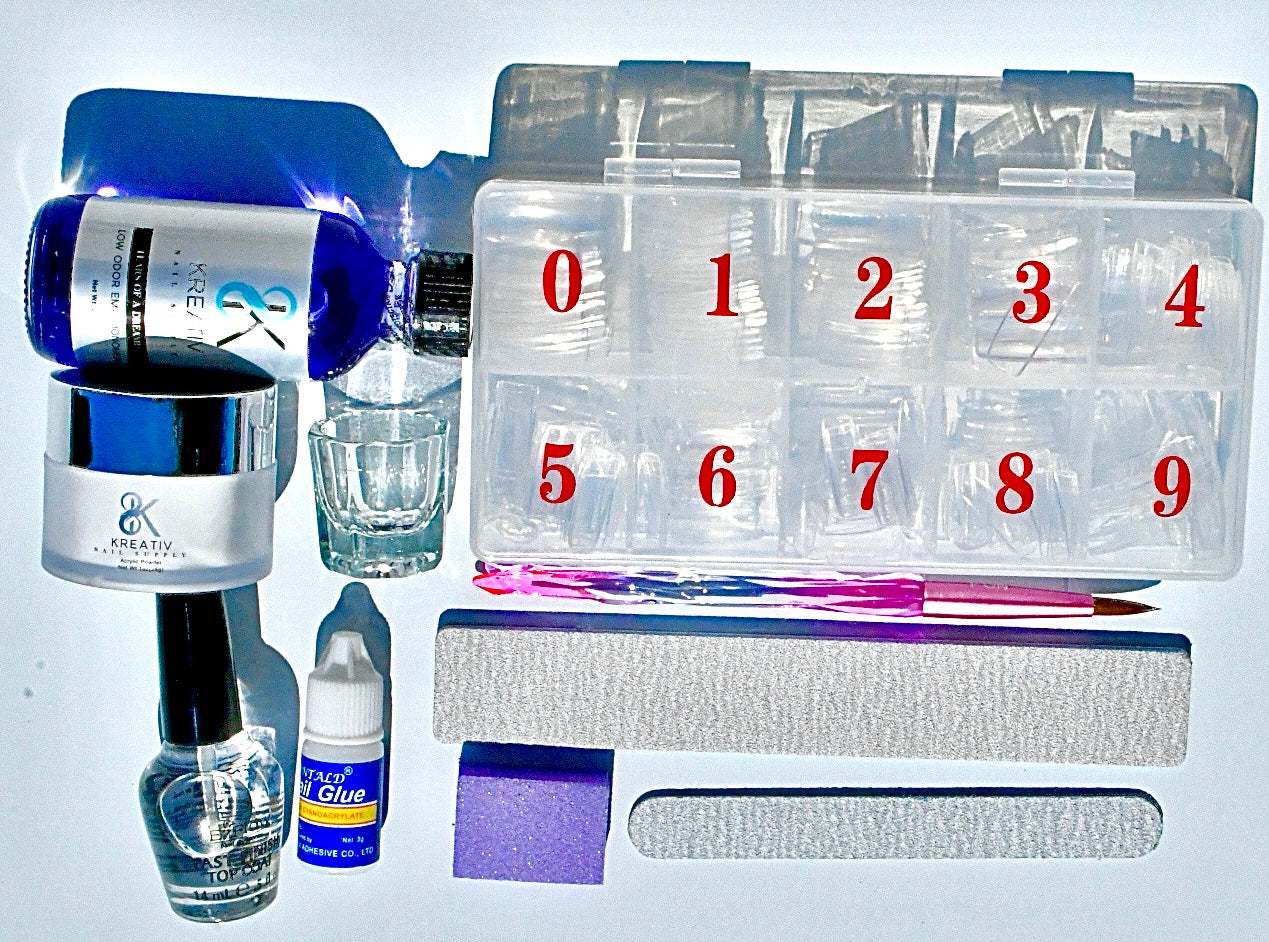
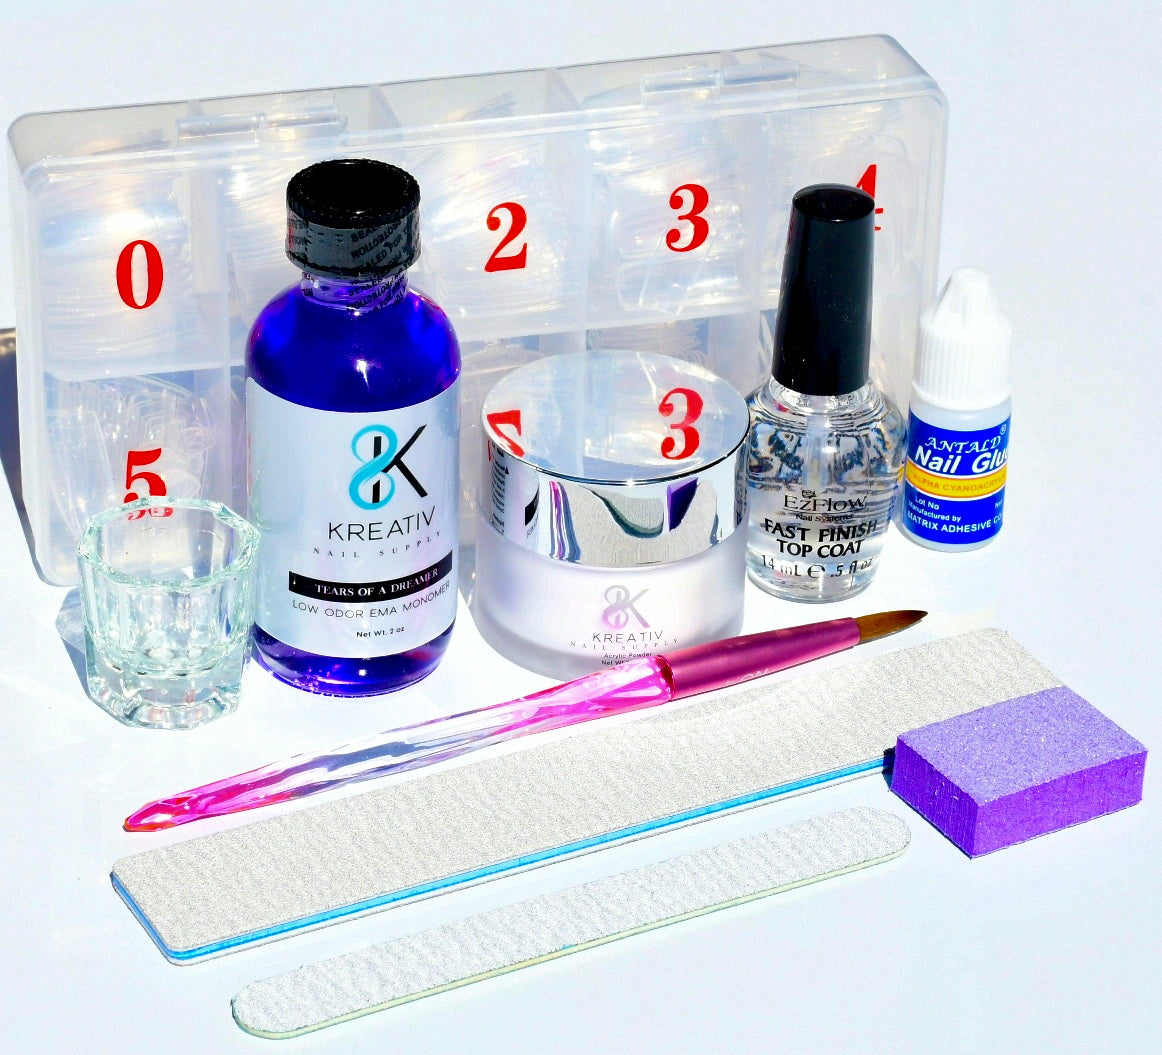
Starter Acrylic Kit (No UV Lamp Needed!)
Starter Acrylic Kit (No UV Lamp Needed!)
Buffer- used to "etch" the natural nail. Etching is the process of gently "roughing up" the surface of the natural nail to make acrylic nails adhere to the natural nail better. This DOES NOT damage the natural nail as long as you don't excessively buff it. (This same buffer will also be used after the acrylic nails are shaped to smooth out the nail before applying topcoat.)
Nail Tips-The false tips used to extend the artificial nail length. Your kit comes with a box of 500 nail tips. From sizes 0-9.
Nail Glue- Your kit comes with a stick nail glue. Open your nail glue by cutting off the tip. You only need a drop! Put a drop of glue on the end of the tip that is going to adhere to the natural nail. Firmly hold the tip onto the natural nail for a few seconds. The tip should be glued into place.
Acrylic Powder- 1oz of the clearest acrylic powder.
2oz Tears of a Dreamer EMA Monomer- If you have heard of Kreativ Nail Supply, you have heard of our monomer. If you are a true beginner, Monomer is the purple nail liquid that is mixed with acrylic powder to create acrylic nails. You cannot create acrylic nails without monomer.Always use proper ventilation when using ANY monomer, even if you can handle the smell.
Dappen Dish- A small glass dish used to hold monomer.
Acrylic Brush- You will receive a Kolinsky Acrylic Brush to get you started. You're going to get your brush wet with acrylic powder. Dip your brush at a 45 degree angle into your acrylic powder and hold for approx 3 seconds. Flip the brush over, give the acrylic bead a moment to level out. Now you can apply your acrylic bead to your nail. With your acrylic brush, you may need 3-4 beads of acrylic per nail.
Couldn't load pickup availability


